When the warm weather arrives, so do mosquitoes, flies, and other insects that can turn a quiet afternoon at home into an uncomfortable experience. Installing mosquito screens is an effective, simple, and affordable way to avoid these annoyances without giving up natural ventilation.
If you’re thinking about installing one at home, in this article we’ll explain how to install mosquito screens correctly.
Why install a mosquito screen?
Mosquito screens provide a physical barrier that prevents insects from entering the home without blocking airflow. This allows you to keep windows open during the day or night without worrying about bites or annoying buzzing sounds. In addition, they can also prevent the entry of dust, pollen, and other allergens, making them a good option for people with respiratory allergies.
Another important advantage is that there are models adaptable to any type of window or door, from the simplest to large sliding glass doors. You can even find options with decorative finishes that don’t affect the aesthetics of your home. And best of all: most are easy to install, without the need for advanced tools or technical skills.
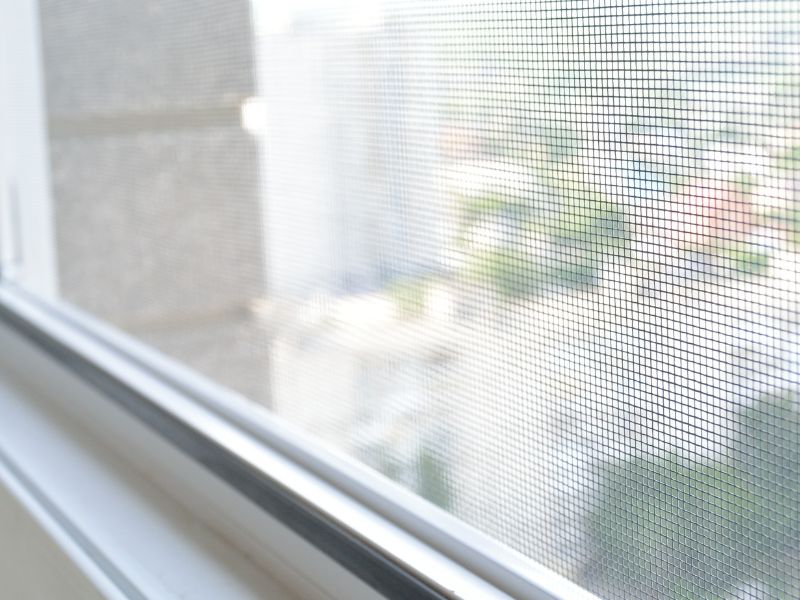
Types of mosquito screens
There are several types of mosquito screens depending on their use and mounting system:
- Roll-up screens: very practical for windows that are opened and closed frequently. They roll up vertically or horizontally.
- Sliding screens: designed for sliding windows. They slide along a rail and are easy to remove and put back.
- Fixed screens: perfect for openings where the window does not need to be opened. Installed permanently.
- Pleated screens: ideal for doors or large windows. They fold like an accordion.
- Magnetic or Velcro screens: easy to install without screws, ideal for temporary solutions or renters.
Step-by-step guide to installing mosquito screens
Installing a mosquito screen might seem complicated, but by following some basic steps, it’s a totally manageable task for anyone with a bit of DIY skill.
Take measurements
The first step is to measure precisely the opening where the screen will be installed. Measure both the height and the width, and do it in several places, as there can be slight variations in the frame. This will ensure a good fit.
Choose the right type
With the measurements in hand, choose the type of screen that best suits the use of the window or door. For example, if it’s a window that you open frequently, the roll-up option is highly recommended.
Prepare the surface
Clean the area where the screen will be installed, removing dust and grease. This is especially important if the model you’re installing is adhesive or uses Velcro.
Install the frame
Follow the manufacturer’s instructions. In fixed or roll-up models, it’s usually necessary to mount a frame or guide with screws or clips. Make sure everything is level and securely attached.
Attach the mesh
Once the structure is ready, place the mesh. For Velcro models, simply adjust it properly to the edges. In other types, the mesh is usually held in place with a spline or rubber gasket that you must press firmly to keep it from coming loose.
Check the functionality
Open and close the window to make sure the mosquito screen doesn’t interfere with its operation. Also check for any gaps where insects could enter. If necessary, make small adjustments.
Professional mosquito screen sales and installation
If you prefer not to deal with it yourself, you can also count on the help of professionals like us at Toldo Express. At our store, we offer a complete mosquito screen sales and installation service tailored to your needs. We work with a wide variety of models—roll-up, sliding, pleated, fixed—adapting to every type of window or door.
We use durable and resistant materials, guaranteeing a clean and functional finish. Contact us.